Learned helplessness: How school paraprofessionals foster student independence.

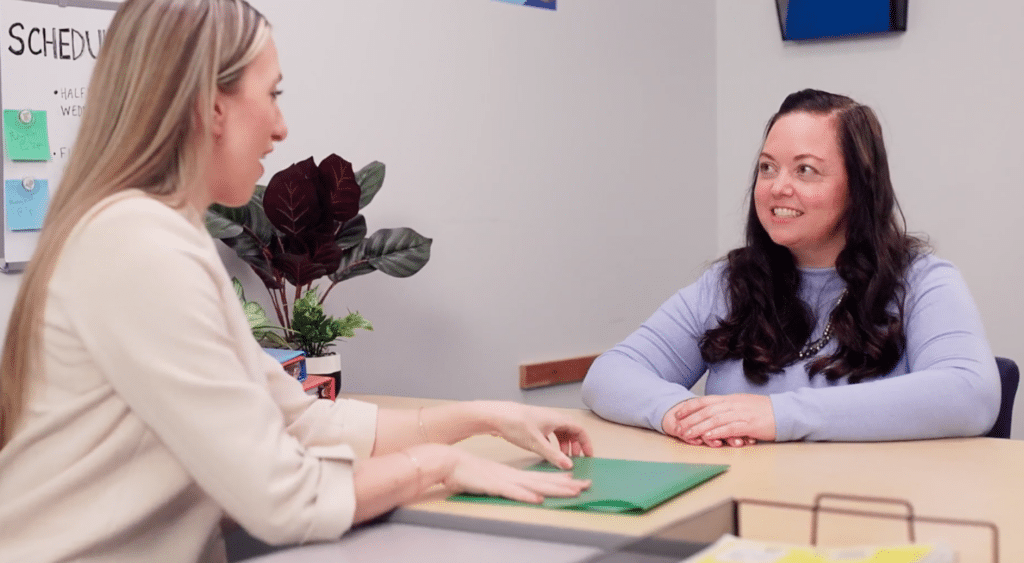
As a paraprofessional in schools (paraeducator), building relationships with students will help them feel safe and comfortable. They’ll be more likely to engage in classroom activities and meet learning expectations.
However, it can also cause learned helplessness. Research shows students who receive one-on-one support sometimes become dependent on their paraprofessionals. They may ask for help with every task, even ones they can complete on their own.
To prevent this, paraeducators must be mindful of the concept called “fade the aide”. This means the primary goal is to promote student independence, and gradually decrease support as the student gains confidence and skills.
How does teacher-student relationships affect learning?
If you’re a substitute paraeducator, you’re working with a student with special needs. What you do in the classroom makes a difference for these students and their learning experience. Focusing on building a positive relationship accomplishes the following:
- Establishes trust and rapport
- Promotes a sense of belonging and acceptance
- Improves behavioral outcomes
- Increases engagement in the classroom
- Improves academic performance
As you build relationships with students, you’ll learn their individual strengths, weaknesses, favorite activities, and learning styles, allowing you to customize your support.
However, if they become overly dependent, they might struggle to follow classroom rules, finish tasks, or feel helpless if you aren’t around.
What is learned helplessness.
When working to provide 1 to 1 aide, you’re a constant source of support across different learning environments. No matter where the student’s schedule takes them, they know you’ve got your back.
If a challenging situation arises in the middle of PE, you’re there. If they need help communicating in a social setting, you’re there. Your constant support creates an environment of trust, but it can also lead to learned helplessness if not handled carefully.
Learned helplessness is a psychological phenomenon when someone stops trying because they’ve come to believe that nothing they do makes a difference. Educators often see this condition in students with disabilities who have experienced repeated failures, leading them to think they’re incapable of success on their own.
Here are some signs that learned helplessness may be developing:
- Refusal to accept help, even when you offer multiple times
- Getting frustrated or giving up quickly when something gets tough
- Pulling back from learning activities and preferring to stay on the sidelines
- Feeling unmotivated
- Struggling with low self-confidence and belief in their abilities
- Needing constant reassurance
- Seeking approval from others, such as looking at you before answering
If you notice any of these signs, it’s important to address them promptly and work on promoting independence. The key is to fade the aide or gradually reduce your support while emphasizing the strategies below.
7 ways a paraeducator can promote student independence.
Let’s look at seven strategies for building teacher-student relationships that prioritize student choice and voice, and help minimize learned helplessness.
1. Thoughtfully prepare the learning environment.
What skills does the student you’re working with already have? What are their strengths? How can you help them overcome their weaknesses?
The answers to these questions can help you create a learning space that encourages independence, while building a relationship with students. You’ll definitely want to collaborate with the lead teacher on this, but maybe you can create a dedicated area in the classroom for your students or work together to ensure the entire classroom supports independence.
Depending on your student’s needs, this could include:
- Creating a well-organized space without distracting clutter
- Including visual schedules to help your student stay on track
- Having a predictable routine
- Using visual labels on containers and cubbies (with pictures instead of words if necessary)
- Assigning a job the student can handle with confidence
- Encouraging self-regulation through a choice of sensory materials
- Offering alternative seating options, such as standing desks or stability balls, and allowing the student to pick which to use
2. Provide materials that meet your student’s needs.
The more your student can do independently, the better. However, they may need specialized materials or accommodations to complete tasks successfully.
For example, you could:
- Encourage the use of assistive technology.
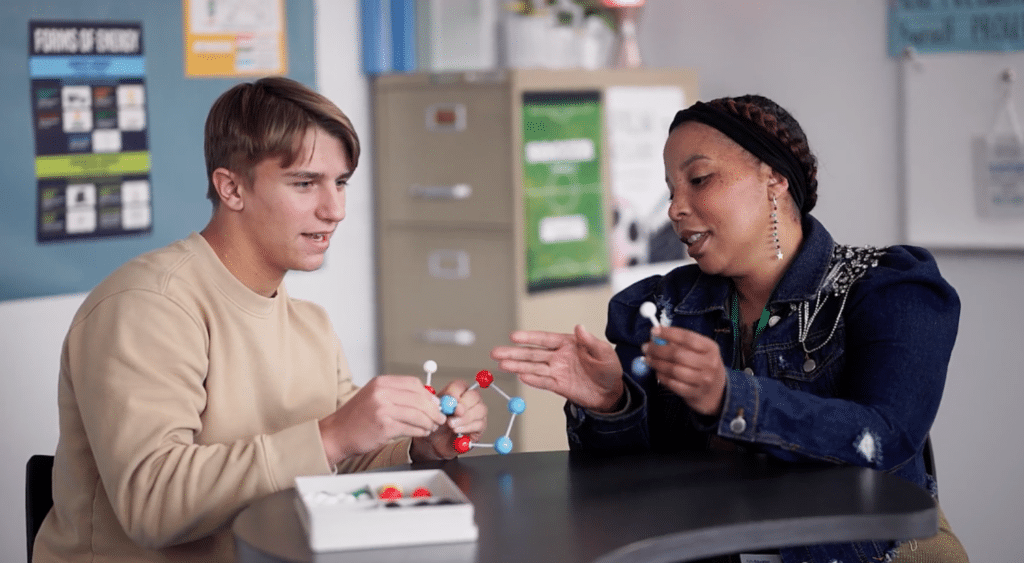
- Offer manipulatives for hands-on learning.
- Create visual aids or prompts to support understanding.
- Provide supplies such as easy-grip scissors, pencil grippers, and guided reading strips.
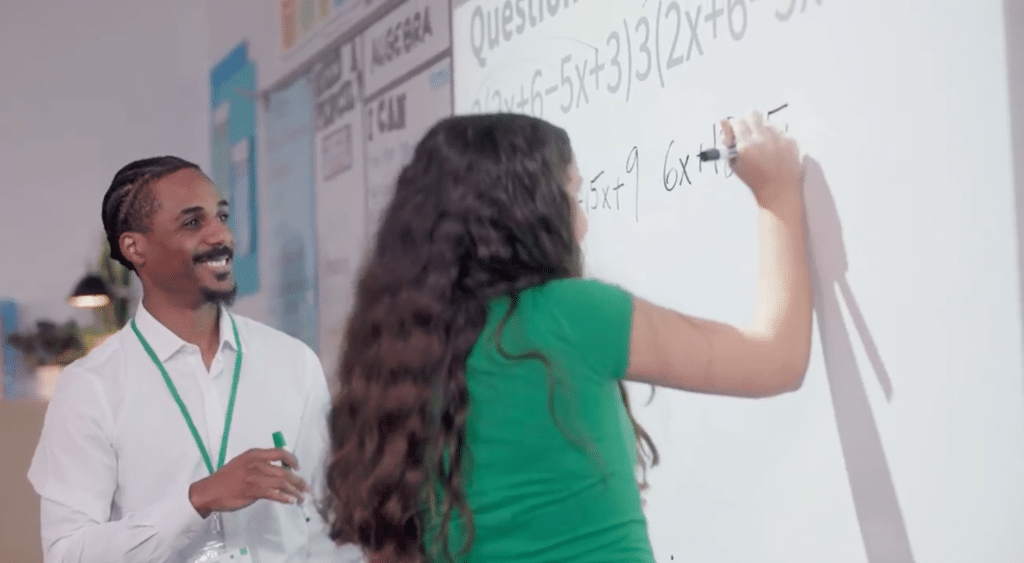
- Allow the student to complete the assignment on a whiteboard instead of paper.
3. Adapt or modify activities.
Your student’s specific accommodations and modifications are spelled out in their Individualized Learning Plan (IEP). Become familiar with this document and use it as a guide to help set your student up for success.
This could look like:
- Providing extra time to complete assignments
- Breaking down complex tasks into smaller chunks
- Offering choices for how a student can complete the work (such as orally or through writing)
- Adjusting the difficulty level to match your student’s strengths and abilities
The lead teacher will be a valuable resource in identifying and implementing adaptations or modifications. Collaboration can ensure your student gets consistent support across all subjects.
4. Scaffold learning by teaching smaller skills first.
Scaffolding allows you to build upon a student’s prior knowledge and skills. It connects new information with what they already know and helps them make connections between concepts. This practice can benefit students with executive function or processing difficulties.
You’ll need to break down the task into smaller pieces. Then, teach the students each piece individually, giving them plenty of opportunities to practice and master before moving on to the next step will work against the learned helplessness concept.
This could involve:
- Providing explicit instruction
- Modeling how to complete a task or use a specific strategy
- Offering guided practice with support and feedback
- Explaining how each step connects to the bigger picture
- Displaying a visual cue for each step
5. Plan your positioning.
Standing too close can be overwhelming and make it challenging for a student to stay focused. But if you’re too far away, they may miss your instructions. You’ll have to find the right balance.
At first, you’ll likely need to stand closer to provide more support. But you can gradually give them more space as they become more comfortable and independent. This space can encourage them to try things independently, instead of defaulting to asking for help.
Stay flexible when planning where you’ll be. Be mindful of your student’s needs and adapt as necessary.
6. Provide the least amount of prompting necessary.
Prompting can help guide a student toward a desired action or behavior, but it’s important not to overdo it. Providing too many prompts can create a dependency and prevent your student from developing independent problem-solving skills.
A prompt is anything that helps a student complete an action, such as:
- Giving verbal cues
- Pointing
- Physically guiding their hand
- Using visual models
- Modeling
A prompting hierarchy can help you determine the level of support needed for a specific task. This hierarchy typically starts with the least invasive prompts, such as verbal cues or visual models, and progresses to more intrusive ones, like physically guiding a student’s hand.
Once you determine how much prompting the student needs to complete the task, reassess and adjust as they become more proficient. That way, they don’t become overly dependent on you or the prompts.
7. Provide immediate positive feedback and encouragement.
Positive reinforcement is a powerful tool for promoting independence. When your student completes a task, no matter how small, provide immediate feedback and praise. This can be as simple as saying, “I knew you could do it!” or giving them a high five. This positive feedback can increase their motivation and self-esteem, making them more willing to try again the next time.
If a token economy or reward chart is in place, use those for encouragement. This can further reinforce the desired behavior and encourage your student to continue working toward independence.
Grow as a paraeducator with Kelly Education.
Building relationships with students is a key part of the substitute paraeducator job. We have an entire library of helpful articles for paras and school educators.
They include:
If you’re interested in becoming a paraprofessional, simply fill out our brief interest form. One of our recruiters will contact you to answer your questions. They’ll also share more about opportunities to work with our school district partners.

View Related: Article Job searching
You might like
Do substitute teachers get health benefits?
3 minute read
What a substitute teacher does.
4 minute read
Do substitute teachers get health benefits?
3 minute read
What a substitute teacher does.
4 minute read
Find your next job
Discover thousands of temporary, full-time, and remote jobs for beginning and experienced job seekers.


